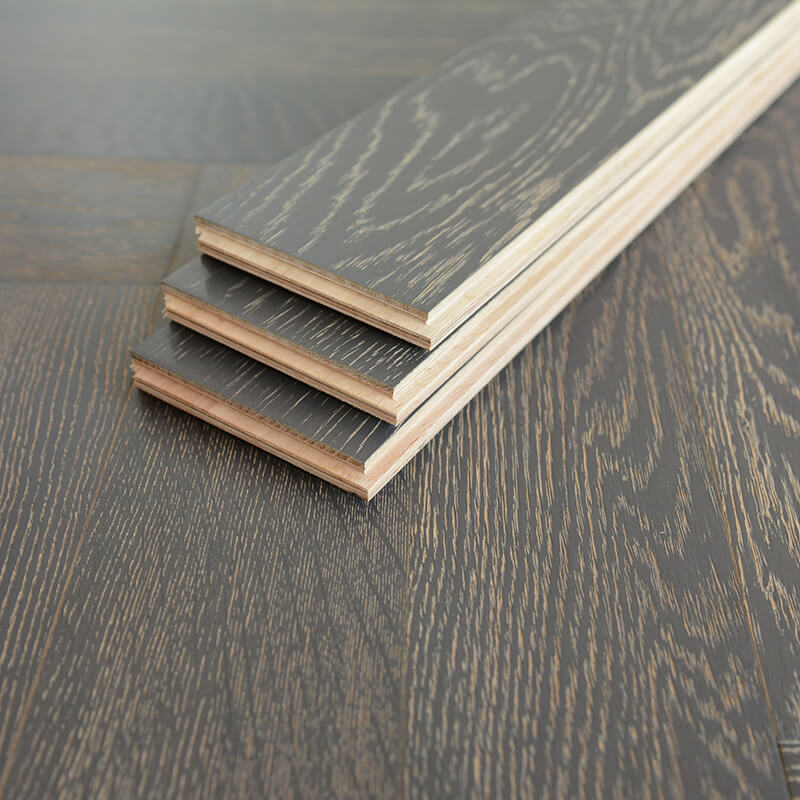
Installing hardwood flooring can be a complex process, but if done correctly, it can add value and beauty to your home. Here is a general outline of the steps involved in installing hardwood flooring:
Hardwood floors can be a stunning addition to your home. Installing hardwood floors is not too challenging for you.
Prepare Your Tools and Material
Tools:
Tape measure
Pry bar
Moisture meter
Ear plugs
Drill and bits
Hammer
Safety glasses
Safety mask
Work gloves
Table saw, miter saw or table saw
Chalk line Pneumatic nail gun (optional)
Punches and nail setters
Knee pads
Staple gun
Mallet
Long level
Nail set
Materials:
Underlayment
Vapor barrier paper
Hardwood
Wood putty
Nails
Collated flooring nails
Installing wood flooring typically involves the following steps:
- First, you’ll need to measure the space you intend to install hardwood flooring. Prepare the subfloor: Ensure that the subfloor is clean, dry, and level. If necessary, repair any damages and ensure that the subfloor is debris-free.
- Acclimate the hardwood: Leave the hardwood planks in the room where they will be installed for at least 48 hours to acclimate to the temperature and humidity. That’s a good time to lay the boards from several cases out on the floor and mix them up to vary the shades and lengths. Also, an excellent time to check for damaged or warped pieces. Please don’t throw them away, they may come in handy later.
- Plan the layout: Determine the direction of the flooring planks and mark reference lines on the subfloor to ensure a straight installation. After the boards have acclimated, choose the straightest ones for the first 2 rows. The first and last rows of the room have to be nailed through the face of the board.
- Cut the planks: Cut the planks to fit around obstacles and in doorways, taking into account the expansion gap that will be needed around the perimeter of the room.
- Begin installation: Start laying the planks along the reference line, using a pneumatic flooring nailer to secure each plank to the subfloor. Lay the first board on the line you snapped, and groove toward the wall. Set ¾-inch spacers for the expansion gap along the length and at the end between the board and the wall.
- Drive flooring nails through the pre-drilled holes. To start the second row, push the groove of the board onto the tongue of the first row and tap together with a tapping block. Continue down the row, remembering to stagger the joints by at least 6 inches. When the row is done, the blind nail is in place. Countersink all the nails. Blind nail at a 45-degree angle along the tongue edge at every floor joist down the length of the row.
- Finish the installation: Continue laying the planks until the entire room is covered, leaving an expansion gap around the room’s perimeter. When you get to the end, cut the board to fit (face side up on the saw), remembering to leave the ¾-inch expansion gap.
- Sand and finish: Sand and finish the flooring to provide a smooth, uniform surface, and to protect the flooring from scratches and damage. Cut the excess underlayment and sand and stain if necessary. Then, fill the nail holes with matching wood putty and replace the baseboards and shoe molding to cover the expansion gap.
- Install thresholds: Install transition pieces at doorways and other areas where the flooring meets a different type of flooring or meets a wall.
It is important to follow the manufacturer’s instructions carefully and to use the proper tools and techniques to ensure a successful installation. Hiring a professional flooring contractor may also be a good option if you are not comfortable with the installation process.
Note: This is just a general guide and the installation process may vary depending on the type of hardwood flooring you have chosen.


